No-Forecast Weather Reading in the Backcountry: Cloud ID, Wind Shifts, Pressure Trends, and Storm-Avoidance Decisions
Mission Standard: Read Weather Without a Forecast or Accept Preventable Risk
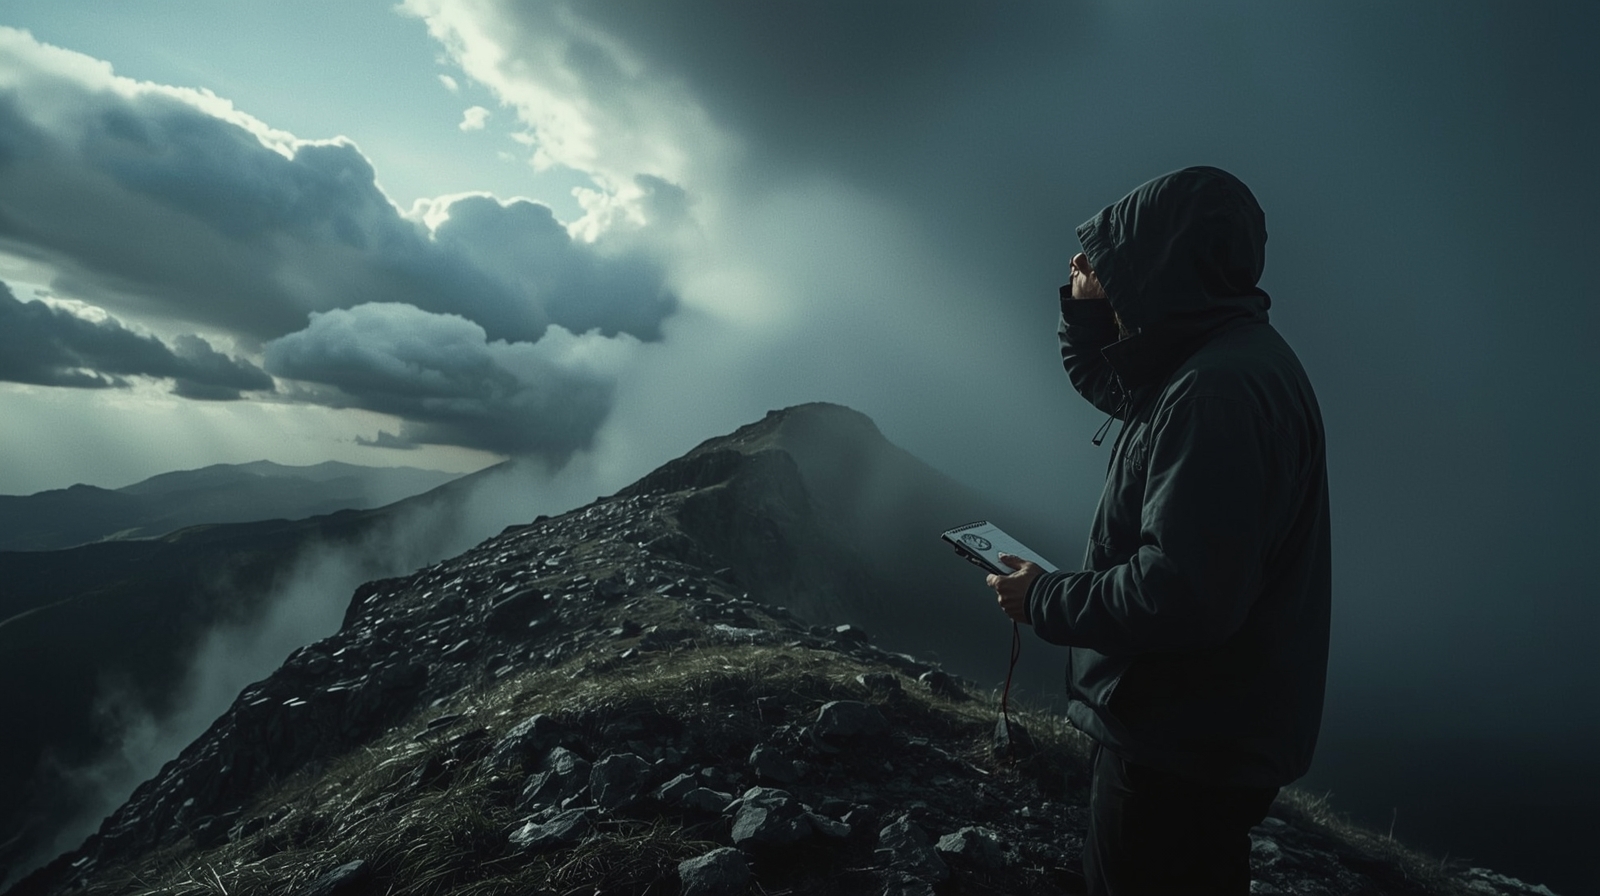
Out in the backcountry, “no forecast” is not a romantic problem. It is a planning failure you have to compensate for with field skills. When you can’t pull a radar loop or check an hourly model, you have one reliable sensor package left: your eyes, your skin, your ears, and a few simple instruments you control.
Your objective is not to become a meteorologist. Your objective is to make storm-avoidance decisions early enough that you don’t get trapped on exposed terrain, pinned under trees, or forced into a river crossing that was safe two hours ago and lethal now.
Weather kills in predictable ways: hypothermia after a “summer” squall, lightning on an open ridge because you pushed the timeline, flash flooding in a drainage because you camped low, and navigation failure when visibility collapses. The pattern is consistent: people notice the change late, then they negotiate with reality instead of executing a plan.
Your backcountry weather loop:
— Observe — clouds, wind, pressure, humidity cues
— Confirm — with trends over 60–90 min intervals
— Project — 3–12 hours ahead from combined signals
— Decide — route, timing, shelter, or bailout
If you can’t explain what the sky is doing and what it will do next, you’re guessing.
Baseline Setup: Build a Field Weather Kit and Run a Met Check Schedule
Minimum tools that actually matter
You can read weather with zero gear, but you will read it better with a few items that don’t rely on cell service. Keep it simple and durable.
- Altimeter watch or handheld barometer: lets you track pressure trend. The trend is more important than the absolute number.
- Compass with bezel: for consistent wind direction notes — don’t guess “kinda west.”
- Notebook or phone notes (offline): log pressure, wind, clouds every 1–2 hours.
- Thermometer (optional): helps spot cold-frontal passage and radiational cooling risk.
Altimeter watch in elevation mode? If you leave it there, changing pressure will make your “elevation” drift while you’re stationary. That drift is not noise — it is a pressure clue if you know what you’re seeing.
Operational habit: establish a “met check” schedule
In training environments, we don’t wait for weather to surprise us. We schedule checks. Do the same.
- Initial baseline: at trailhead or first stop — record time, pressure reading, wind direction and speed estimate, cloud types, and visibility.
- Movement checks: every 60–90 minutes, repeat the log. In complex terrain (canyons, passes), check at each major terrain transition.
- Pre-commitment check: before you step onto a ridge, cross a pass, enter a slot canyon, or commit to a long exposed traverse — do a full check and make a decision.
Most backcountry weather mistakes are trend failures, not knowledge failures. The schedule forces you to see the trend. Three readings over three hours tell you infinitely more than one snapshot.
Wind estimation that’s good enough for decision-making
You don’t need an anemometer. You need a repeatable estimate. Here’s the field framework:
| Speed | What You See & Feel | Action Flag |
|---|---|---|
| 0–5 mph | Smoke drifts, leaves barely move, sweat stays put | No concern |
| 5–15 mph | Leaves and grass in constant motion, steady cooling, tarp edges flutter | Monitor |
| 15–25 mph | Small branches move, raise your voice, balance matters on ridgelines | Shelter review |
| 25+ mph | Walking is a stability problem, anchor failure risk rises fast | Dig in or descend |
If you need shelter hardening for wind-driven rain, review your pitch discipline and runoff control in tarp shelter systems for wind and heavy rain.
Cloud ID That Predicts Change: Stop Collecting Names and Start Projecting Outcomes
Stop naming clouds like trivia — start reading what they mean
Cloud identification is only useful if it changes your plan. In the field, focus on three variables: height, growth rate, and coverage trend. A pretty sky that is stable does not deserve your attention. A sky that is changing does.
High clouds: cirrus, cirrostratus, and the “wetting trend”
Cirrus looks like hair or brush strokes. If cirrus is increasing and lowering over hours, treat it as a heads-up that a system is approaching. Cirrostratus can produce a halo around the sun or moon. That halo is not folklore — it’s light refracting through ice crystals, which often shows up ahead of a warm front.
Halo + thickening high cloud deck? Plan for precipitation within roughly 12–24 hours. In mountain terrain, that timeline can compress significantly. Start looking for camp options now.
Mid-level clouds: altostratus and altocumulus that mean business
Altostratus is a gray sheet that can obscure the sun. When it thickens and lowers, steady rain or snow becomes more likely. Altocumulus can be harmless, but one pattern matters: altocumulus castellanus — turreted, castle-like tops. That pattern indicates instability aloft and can precede thunderstorms later in the day.
Turreted mid-level clouds in the morning should tighten your timeline hard. If your route requires ridge travel, you move early or you reroute — not “we’ll see how it looks at noon.”
Low clouds: stratus, fog, and the visibility trap
Stratus is a low, uniform layer that can turn navigation into a slow bleed of errors, especially in featureless terrain. Fog is stratus at ground level. If you’re moving in fog, you need disciplined navigation and pace control — not optimism.
If visibility is failing, your navigation should shift to deliberate techniques. Use map-and-compass navigation in real terrain and tighten your error budget. When people get lost in weather, it’s usually because they keep walking while their confidence collapses.
Cumulus growth: when fair-weather clouds turn into a lightning problem
Track cumulus the way you track an enemy patrol — by what it’s doing, not what it looks like right now.
- Cumulus humilis: small, flat-based “cotton” clouds — generally fair weather.
- Cumulus mediocris: more vertical growth — instability is increasing, keep watching.
- Cumulus congestus: tall, cauliflower-shaped — you are approaching thunderstorm conditions.
- Cumulonimbus: full storm tower with anvil top — lightning, hail, downbursts, and rapid temperature drops are active.
Don’t wait for thunder. By the time you hear it, you’re already in the engagement area. Your decision point is when you see sustained vertical growth and darkening bases — especially if the tops are shearing into an anvil. If you can see a building cumulonimbus and you’re planning to “just get over the pass real quick,” you are gambling with lightning. Passes and ridgelines are where you become the tallest object in a wide radius.
Wind as Early Warning: Track Shifts, Identify Gust Fronts, and Don’t Get Lied To by Terrain
Wind shifts are often your first usable signal
Pressure and clouds can be subtle. Wind is physical — it pushes you around and strips heat off you. The problem is that terrain manipulates wind, so you must separate local wind from synoptic wind (the larger weather pattern).
What you’re looking for:
- Consistent direction change over time: not just a swirl in a canyon.
- Increasing gustiness: especially if clouds are thickening simultaneously.
- Cool, sudden outflow: can be a gust front from a nearby thunderstorm you can’t yet see.
Terrain effects that fool hikers
In mountains and canyons, wind does not behave politely.
- Venturi effect: wind accelerates through saddles, gaps, and narrow valleys. You may think a storm is arriving when it’s just topography.
- Katabatic winds: cold air drains downhill at night, creating downslope breezes that feel like a front.
- Anabatic winds: daytime upslope flow as slopes heat, which can mask a broader wind shift.
Eliminate terrain noise: take wind readings in multiple micro-locations — an exposed knob, a treeline edge, and a sheltered spot. If the wind story changes completely between them, you’re dealing with terrain effects. If the shift is consistent everywhere, pay attention.
Recognize outflow boundaries before they hit you
Thunderstorms can throw a cold gust front miles ahead of the rain core. You’ll feel a temperature drop, then a strong wind shift, then dust or debris, then rain. If you’re in hot conditions, that first cool blast feels good. That is a trap.
Field action when outflow hits — execute immediately, in this order:
- Get off high ground: start descending from ridges and isolated knobs immediately.
- Secure loose gear: gusts flip tarps, blow maps, and scatter stoves.
- Reassess water crossings: heavy rain upstream changes a ford in minutes.
If your route requires a ford, make sure your team knows the decision criteria in advance. Reference swiftwater fording and pack-ferry techniques and do not let schedule pressure force a crossing when the river is rising or turning opaque with sediment.
Pressure Trends Without a Forecast: Use the Barometer Like a Quiet Alarm
Trend beats number
Most civilians glance at pressure once, then forget it. That is useless. You are not trying to compute sea-level pressure perfectly. You are tracking whether pressure is falling, steady, or rising — and how fast.
| Pressure Trend | What It Often Means | Your Move |
|---|---|---|
| Steady | Generally stable weather — local convection can still occur | Monitor clouds for convection |
| Slow fall over many hours | Increasing chance of clouds and precipitation | Identify camp options, set time gates |
| Rapid fall | System approaching faster or stronger than expected | Execute bailout or shelter plan now |
| Rising after a low point | Clearing trend — but post-frontal winds and cold air inbound | Layer up, anchor shelter, watch wind chill |
How to log pressure in a way you can use
- If your watch shows pressure — log it every 1–2 hours with time and sky notes.
- If your watch is in altitude mode — log the drift while stationary. Altitude reading climbing while you sit still = pressure is falling.
- Write down: time, reading, and what the sky is doing. After a day, you’ll see whether falling pressure matched thickening clouds and rising wind.
- Use a second instrument (analog barometer) in camp as confirmation — the point is the trend, not precision.
Pressure trend plus cloud trend equals decision power
Any single signal can lie. Combined signals are harder to ignore.
Unsure if the pressure trend is real? Do a controlled check: stop for 15 minutes in one spot, shield the watch from direct sun, and re-check. Sudden swings caused by temperature changes or body heat are common — consistent movement over hours is the signal you trust.
Decision Gates: When to Turn, When to Hold, and When to Dig In
Set decision points before the terrain sets them for you
Most weather injuries happen after a bad commitment: you step onto a ridge, drop into a drainage, or push past the last protected campsite because you assume conditions will hold. That is backwards. You set decision gates based on exposure and escape options — then you execute them without debate.
Three outcomes — no improvisation
At each gate, you pick one of three outcomes and commit:
- Advance: conditions are stable and you have adequate time margin. Continue on planned route.
- Hold: pause movement, eat, hydrate, re-check in 30–60 minutes, and reassess. If conditions improve, advance. If they don’t, execute shelter plan.
- Bailout: execute your pre-planned alternate route or dig in early. This is not failure — this is the plan working.
The gate only works if you set it before you’re in the committed zone. Once you’re on the exposed ridge, already wet, already late — you have lost the gate. The decision is no longer free. This is why the check schedule and the pre-commitment check exist: they give you time margin.
- Garmin Instinct 2
- Suunto Core
- Casio ProTrek PRG
- Brunton compact
- Sun Company AltiTech
- Coghlan’s hiking alt.
- Kestrel 1000
- HOLDPEAK HP-856A
- Ambient Weather WM-2
- Rite in the Rain 980T
- Mil-spec field books
- Avery Polaris water-res.
- Suunto A-10
- Silva Ranger 2.0
- Brunton TruArc 5
- SOL Escape Lite bivvy
- Survive Outdoors Longer
- Tact Bivvy 2.0
- Kelty Noah’s tarp
- Aqua Quest Guide
- DD Hammocks tarp 3×3
- ThermoPro TP49
- La Crosse Technology
- Ambient Weather WS-01