Knife Skills for Survival (Without Cutting Yourself): Baton Safe Zones, Carving Notches, Fuzz Sticks, and Edge-Control Drills
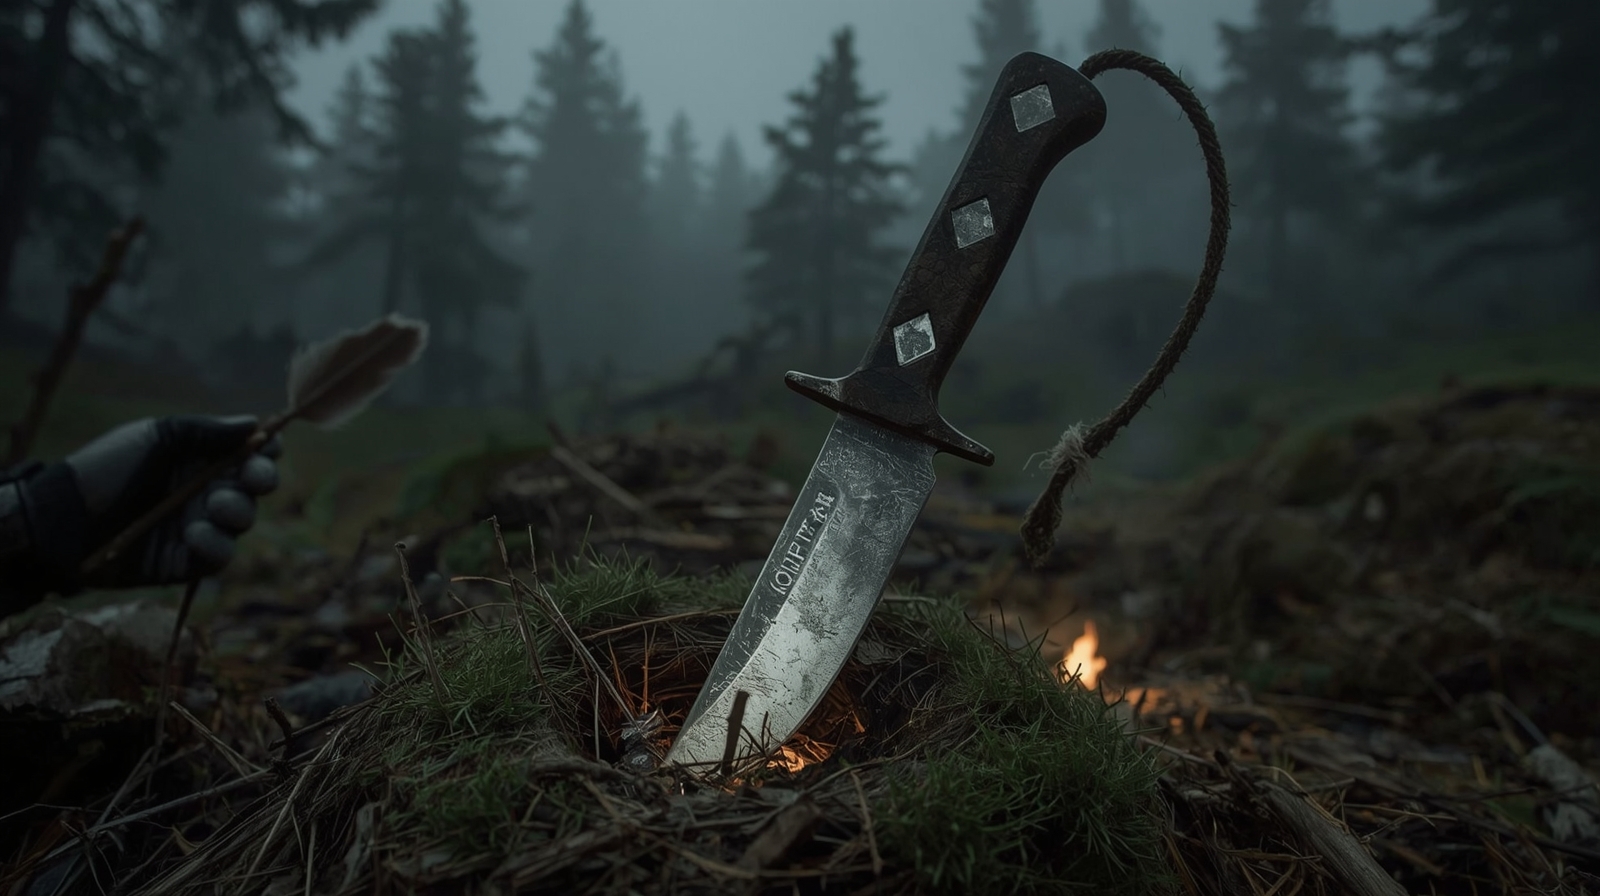
Mission Brief: Your Knife Is a Tool, Not a Lottery Ticket
In the field, knife injuries don’t happen because someone “didn’t respect the blade.” They happen because the user stacked small errors: bad stance, poor work height, no safe zone, dull edge, fatigue, cold hands, and rushing. A survival knife is a force multiplier, but it’s also one of the fastest ways to end your own mobility and decision-making.
This guide is written like a field brief for civilians who want reliable execution, not campfire theater. You’ll learn how to set safe zones for batoning, carve notches that hold under tension, build fuzz sticks that catch on the first attempt, and run edge-control drills that keep the blade where it belongs. Every technique here is designed to be repeatable when you’re tired, wet, and working with limited light.
Control sequence — always this order:
— Control the work area first — stable surface, clear arc, no bystanders inside your blade radius
— Control your body mechanics second — stance, grip, elbow position, cutting direction
— Control the edge third — sharp, consistent, traveling through wood or empty space only
Most knife injuries come from edge travel into legs, hands, or the support arm. Build a “no-flesh” path for the blade before the first cut.
Non-Negotiables: Injury Patterns and the Rules That Stop Them
Before you carve anything, understand how people get cut. The most common survival knife injuries are not dramatic. They’re small, deep slices to the off-hand thumb, palm punctures from a collapsing notch, and thigh cuts from blades that slip during push cuts. These injuries bleed, swell, and reduce grip strength — exactly what you need to keep working.
Common failure modes
| Injury | Root Cause | Prevention |
|---|---|---|
| Thigh / leg cut | Carving in the lap, or workpiece rotated mid-cut | Never work on your body — always on a surface |
| Off-hand thumb slice | Thumb used as backstop inside the blade path, or choked too far without a guard | Thumb stays behind the edge — always |
| Palm puncture | Point cut driven into a stick held in the palm instead of braced on a surface | Brace the workpiece — never hold and stab toward your own hand |
| Wrist / forearm cut | Support hand crossed the blade lane during batoning or splitting | Define the blade lane; support hand stays outside it |
| Force-slip injury | Dull edge compensated with force — force removes margin for error | Keep the edge field-sharp; a biting knife needs less force |
Field rules that prevent most cuts
Never carve on your thigh or inside your knees. A slip into the femoral region is a life-threatening bleed — not a field-treatable wound with a basic kit. If you cannot set a stable work surface, you cannot safely perform fine knife tasks. This is not caution theater. It’s hard doctrine.
Worksite Control: Build a Knife Station Like You Mean It
Good knife skills start before the knife comes out. In military training environments, cutting tasks are treated as controlled work: stable base, clear area, predictable movement. Your goal is to eliminate surprises — rolling wood, shifting knees, and people walking into your arc.
Pick the right work height
For most tasks, you want the work at knee to mid-thigh height on a surface, not on your body. A stump, a flat log, or a split round makes a solid platform. Too low and you hunch, losing control. Too high and your shoulders fatigue, which makes cuts sloppy.
Clear your 360-degree safety bubble
Maintain a “blade radius” around you: if you extend your arm with the knife, nobody should be inside that circle. In a group camp, announce what you’re doing and set a visible boundary — a pack, a log, or a cord line works fine. In a training context, this is called clearing your arc before you draw.
Lighting and footing
Knife work in low light is one of the most common failure points. If you can’t see the edge, you can’t control it. Stabilize your footing on dry, flat ground. If you’re on snow, wet leaves, or slick rock, reposition before you start. A slip while holding a blade is not a minor incident — and it’s entirely preventable.
Stage your work before dark. Process wood, set your work surface, and identify your material during daylight. If you need to do knife work at night, a headlamp aimed directly at the work — not at your face — is the minimum setup. Red-light mode is not bright enough for fine edge control.
Grip and Stance That Survive Stress: Keep the Edge on a Leash
Instructors repeat grip fundamentals because grip determines edge angle, pressure, and recovery when the blade bites unexpectedly. Your stance determines whether a slip becomes a miss or a hit. The system has to work when your hands are tired, cold, and wet — not just in ideal conditions.
Primary grips — the ones that actually work in the field
Avoid “finger-on-the-spine” grips that put your index finger ahead of the guard unless you have a proven handle and are doing fine detail work. In cold or wet conditions, that forward finger becomes a liability — it reduces grip security and puts it in a vulnerable position if the blade deflects.
Stance and body alignment
Set your feet shoulder-width, one foot slightly back. Keep your hips square to the work surface. Cutting motion should be powered by shoulders and back for pull cuts, and by controlled forearm movement for push cuts — not by flailing wrist motion. When carving, keep your elbows close. Elbows out creates long, uncontrolled arcs. Elbows in creates short, predictable blade travel.
Pre-cut stance check — run this before every session:
— Feet shoulder-width, one back — stable base before the knife comes out
— Work surface solid — no rock, no roll, anchored
— Blade lane identified — traced mentally, ends in wood or air
— Support hand positioned — behind the cutting edge, outside the blade lane
— Lighting adequate — can clearly see the edge at the point of contact
Edge Management: Sharp, Straight, and Predictable Beats “Razor” Every Time
People hear “keep it razor sharp” and assume sharper means more dangerous. In practice, a properly sharpened knife is safer because it bites where you place it. A dull knife skids, jumps grain, and forces you to muscle through cuts — exactly what causes slips. More force means less margin for error.
The three edge conditions — know which one you’re working with
Micro-bevel and durability for hard use
For survival tasks like batoning and notching, a small micro-bevel improves edge stability. If you’re running a very thin, acute edge, you’ll roll it on knots and hard grain. A rolled edge makes you push harder — and pushing harder makes injuries more likely. The field-optimal edge is slightly more robust than a kitchen-sharp edge, because it takes abuse without losing predictability.
The paper test isn’t enough for field assessment. Run your edge through dry softwood and check for skating. A field-sharp edge grabs immediately. If it skates even slightly, it will skip on wet or knotty wood under real conditions. Sharpen then, not after the skip causes a problem.
For baseline hand-tool safety principles — secure work, controlled cutting direction, appropriate PPE — OSHA’s hand and power tool guidance is a useful framework, even though it’s written for workplaces. The mindset translates directly to field work.
Baton Safe Zones: Split Wood Without Putting Your Hands in the Impact Area
Batoning is common in survival because it lets a small knife do big work: splitting wet rounds to reach dry inner wood, making kindling, and processing stakes. It’s also where people smash knuckles, strike their off-hand, or send the blade flying because they set up wrong. The setup procedure prevents all of this — but only if you follow it every time, not just when you remember.
Define the three safe zones before you strike
Setup procedure — repeatable under stress
- Choose straight-grain wood. Knotty billets twist and pop unpredictably. If knots are unavoidable, expect resistance and reduce strike force.
- Build a stable anvil. Place the billet on a stump or flat log. Never baton on loose ground where the billet rocks under impact.
- Seat the blade by hand pressure only. Tap the edge into the end grain. Confirm it’s centered before any striking begins.
- Move your support hand to the sides of the billet. Once the blade is seated, your hand does not touch the top of the billet. Sides only — low, away from the blade lane.
- Strike square on the spine with a solid, wrist-thick baton. One deliberate strike at a time, not a flurry.
Control the split — prevent blade torque
If the split runs off-center, don’t hammer harder. That’s how blades twist and handles fail. Stop, back the blade out, rotate the billet, and restart. If you must steer the split, strike on the side that needs to open. The goal is a controlled split, not a fast one.
Process wet wood in stages. Baton a larger round into quarters first, then baton each quarter into kindling. Smaller pieces reduce torque and give you more control than fighting a stubborn full round all the way down in one go. Three controlled splits beats one ugly one that sends the blade sideways.
Three hard baton don’ts — no exceptions:
Don’t hold the handle with your face or torso over the work. If the blade pops free it comes up fast and hard.
Don’t grip the top of the billet near the spine with your off-hand. That’s how you crush fingers.
Don’t baton through knots when you have alternatives. Cut around them, or choose a different piece of wood.
Carving Notches That Hold Under Load: Stakes, Traps, Shelters, and Lashings
Notches are where survival knife work becomes structural. A notch that fails can drop your pot, loosen your shelter ridgeline, or collapse a stake under tension. The goal isn’t pretty woodcraft — it’s a notch that locks and resists pull in the direction you need, made without putting your off-hand in the blade path.
Rule of thumb: match the notch to the force direction
Before you cut, identify the load direction. Is cord pulling down? Sideways? Is a stake being driven into the ground with tension pulling it out? Cut the notch so the cord seats deeper under load, not shallower. A notch that opens under tension has the geometry wrong.
Trigger notch cuts tend to slip into the off-hand. The combination of fine control required, awkward angles, and the tendency to force a stubborn fit is where most notch injuries happen. If you can’t see the blade clearly, if your hands are cold, or if you’re rushing — stop. Come back to trigger notches when conditions improve.
Fuzz Sticks That Light: Make Feathering a Procedure, Not an Art Project
Fuzz sticks — also called feather sticks — are a reliable way to create fine, dry tinder from marginal wood. The mistake beginners make is carving thick curls that look impressive but don’t catch. You want thin, numerous, and attached fibers that ignite quickly and sustain flame long enough to light the next stage of kindling.
Wood selection under real conditions
- Best: Dry, resinous softwoods — pine, fir, spruce — with a dry interior even if the bark is wet.
- Acceptable: Dry hardwood split from inside a larger piece, exposing protected inner wood.
- Avoid: Punky or rotten wood. It crumbles instead of feathering and absorbs moisture — the opposite of what you need.
If everything is wet: baton a larger stick to expose the dry core, then make fuzz sticks from the inside faces. The exterior can be soaked — the interior wood is often workably dry even in sustained rain.
Stance and grip for safe feathering
Do not carve fuzz sticks in your lap. Place the stick on a stump at an angle, or plant the base on the ground and brace it against a log. Use controlled pull cuts with the knife moving away from your body. Keep your off-hand behind the cutting edge at all times — not in front of it, not alongside it.
Step-by-step fuzz stick method
- Square the base. Cut the bottom flat so the stick stands or braces securely. An unstable stick that wobbles mid-cut is a slip waiting to happen.
- Set a shallow blade angle — almost like shaving the surface rather than cutting into it. The shallower the angle, the thinner and longer the curl.
- Make thin, attached curls. Push away from the body or pull toward it only with the stick fully braced and the blade lane clear. The curl should stay connected to the stick — it feeds the flame longer that way.
- Rotate the stick and repeat on all four faces, building a dense nest of curls around the full circumference.
- Protect the finished stick. Stage it off wet ground on bark, inside a jacket, or under a tarp until ignition. A fuzz stick that re-absorbs moisture won’t light on the first attempt.
Pair your fuzz stick to your ignition method. With a ferro rod, position the stick so sparks land at the thinnest curls — not at the solid wood. With matches or a lighter, shield from wind and light at the base of the curl nest. Never expect a fuzz stick to overcome a badly positioned spark or a flame aimed at the wrong part.
For fire safety in public lands and training environments, the National Park Service fire safety guidance covers containment, site selection, and extinguishment — worth reviewing before practicing in any public or semi-public area.
Edge-Control Drills: Build Skill Without Blood Loss
In the military, you don’t wait for a real situation to test fundamentals — you drill. Knife control is no different. These drills are designed to build precision and muscle memory while keeping risk low. Start slow. Start with a blunt training blade if you have one. Speed is a result of correct reps, not the goal of early practice.
Five drills that build real knife control
Progression standard — earn each stage before moving to the next:
— Stage 1: Stop cuts land on a marked line 19 out of 20 times
— Stage 2: Fuzz stick curls are consistent thickness from base to tip
— Stage 3: Baton setup procedure takes under 30 seconds without verbal prompting
— Stage 4: Grip transitions are smooth with eyes closed and with gloves
— Stage 5: All four skills integrate cleanly under a 10-minute timed session with simulated fatigue (weighted vest, or after physical exertion)
- Morakniv Companion HD
- ESEE 4P / ESEE 6P
- Benchmade Puukko
- Lansky QuadSharp
- DMT W6CP diamond
- Spyderco Sharpmaker
- NoCry Level 5 cut gloves
- DEX FIT FN330
- Ringers Gloves R-54
- Überleben Zünden XL
- Light My Fire Scout 2.0
- Bayite 4-inch survival rod
- UCO Stormproof matches
- Coghlan’s windproof
- Zippo emergency fire kit
- Cold Steel rubber trainer
- Pro-Force training knife
- Blade-Tech practice blade
- Condor leather sheath
- Blade-Tech Kydex custom
- ESEE OEM Molded
- NAR SOFTT-W tourniquet
- QuikClot hemostatic gauze
- Adventure Medical Kits